 Everybody should be backing up their data, but for travelers it’s often cumbersome (not to mention heavy) to carry around several portable hard drives to backup all of those Angkor Wat photos you took. There are 2 good free ways to get online backup and one of them – CrashPlan – lets you set up other computers as online backup drives. That means you can use your travel mate’s laptop, your parents computer, or that old PC sitting in your garage at home as your personal backup storage space.
The advantage of CrashPlan over some other free online backup alternatives is you can use any number of computers and save an unlimited amount of data (well, limited by the size of the other computer).
In this setup, we’re assuming these are computers you own and not a friend’s computer. The process is almost the same in both cases, except when you get to step 4, where I’ll explain a bit further. Setup is simple and takes less than about 10 minutes to get your complete online solution up and running.
What You’ll Need
- Another computer to use as a backup destination.
- An Internet connection.
- A copy of CrashPlan, a free download to your laptop. You’ll also need to download a copy to the other computer you’ll be backing up to.
A Few Notes Beforehand
- You can set CrashPlan up on an unlimited number of machines so you can backup to multiple computers. Just follow this basic process on each backup computer.
- The data saved on the other computer is encrypted so it can’t be read by the owner of the other computer.
- You can share some of your own hard drive space to return the favor to the friend or family member who’s letting you backup to their computer.
- It’s possible to setup a quota, or maximum size limit for the backups so your hard drive (or the other person’s) doesn’t full up.
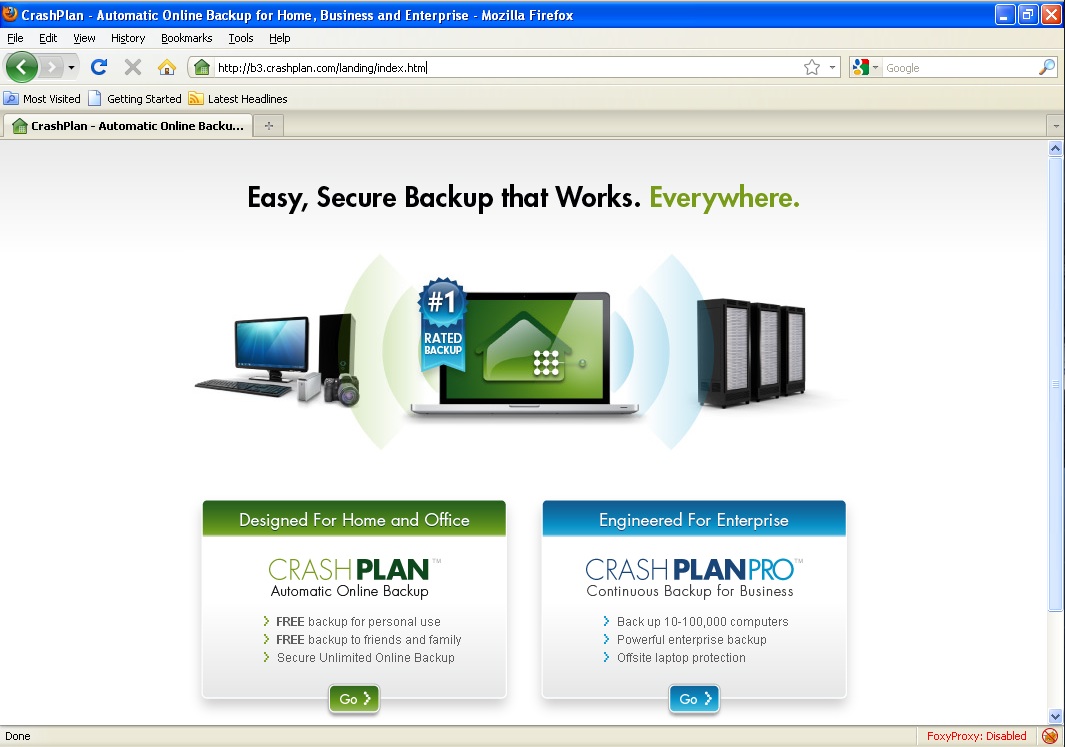
Step 1: Download CrashPlan On Your Laptop
CrashPlan is a free download for Windows, Mac, and Linux systems.
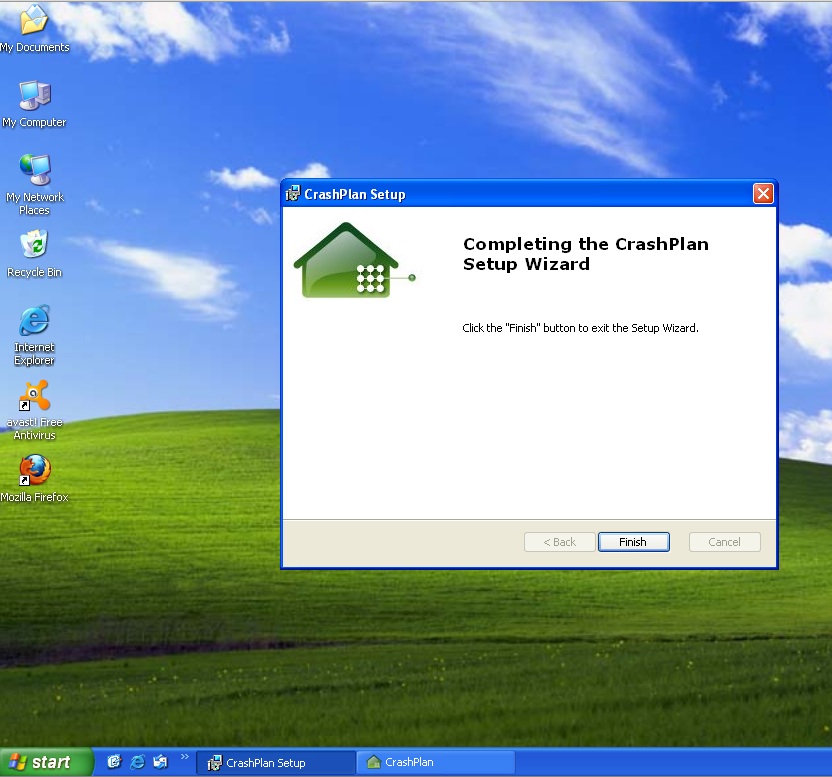
Step 2: Install CrashPlan
It’s a fairly basic install on Windows, Mac, and Linux. You’ll need to click the file you downloaded and follow the steps in the setup wizard. Click “Next” for everything and let the program work its magic.
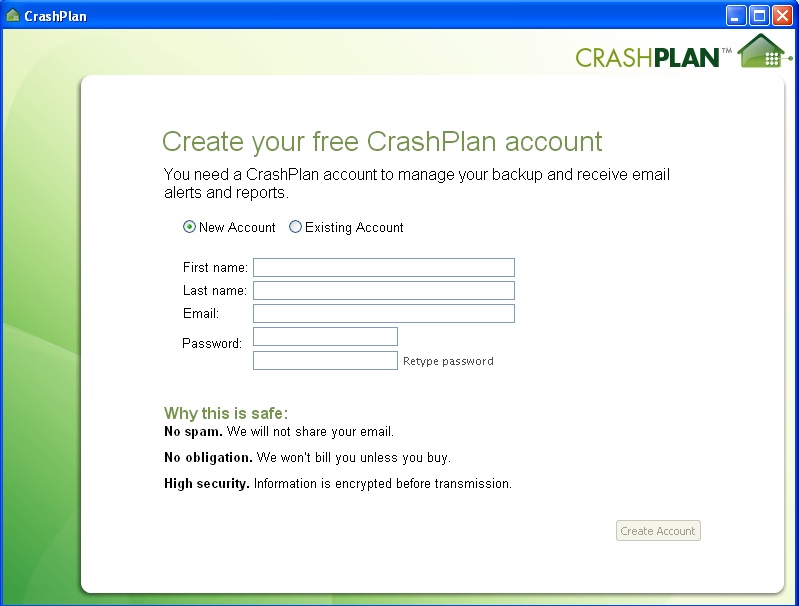
Step 3: Create A CrashPlan Account
This is not a step you can skip since your backups are tied to your CrashPlan account. You’ll need it when you set up backups on any other computer and as always, it’s a good practice to use a strong password.
Step 4: Install CrashPlan On The Backup Computer
Download CrashPlan again (here’s the link again for you lazy types).
- If this is a computer you own: you won’t need to create a new account during setup. Use the existing credentials you just created.
- If you’re using a friend or parent’s computer: they’ll need to create an account if they don’t already have one. Of course, if your parents don’t mind, you can always just use your existing account with them too. Once CrashPlan is setup, it works in the background and goes unnoticed.
Step 5: Tweak The Backup Settings (Optional)
CrashPlan is set to automatically backup your “user” folder (for both Mac and Windows). For most people this covers just about everything you’ll ever save, except the problem is that the files might be too big for your backup destination. To prevent running out of space, you can specify the folders and files you want backed up. (Keep in mind that any new files you add to these folders later down the road will be backed up automatically.) Click the “Backup” tab and hit the “Change” button as shown if you need to.
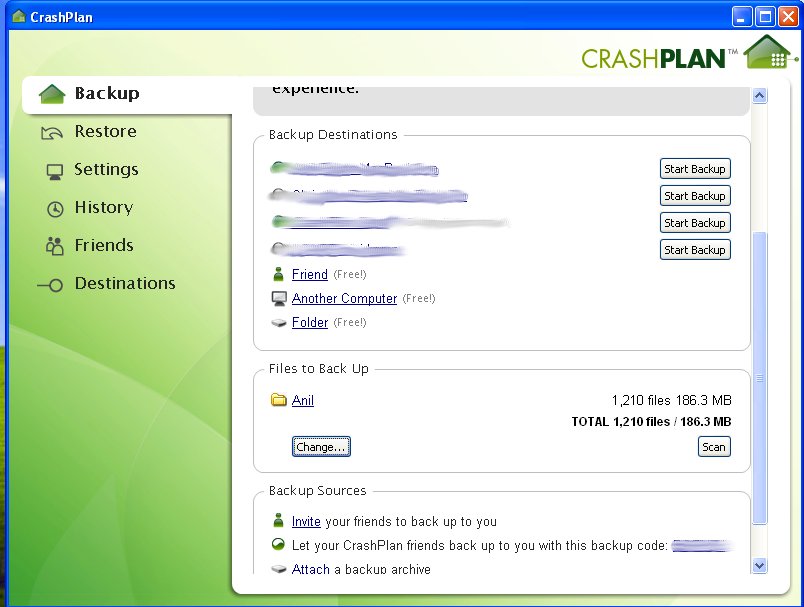
Step 6: Start Backing Up Your Laptop To Your Backup Computer
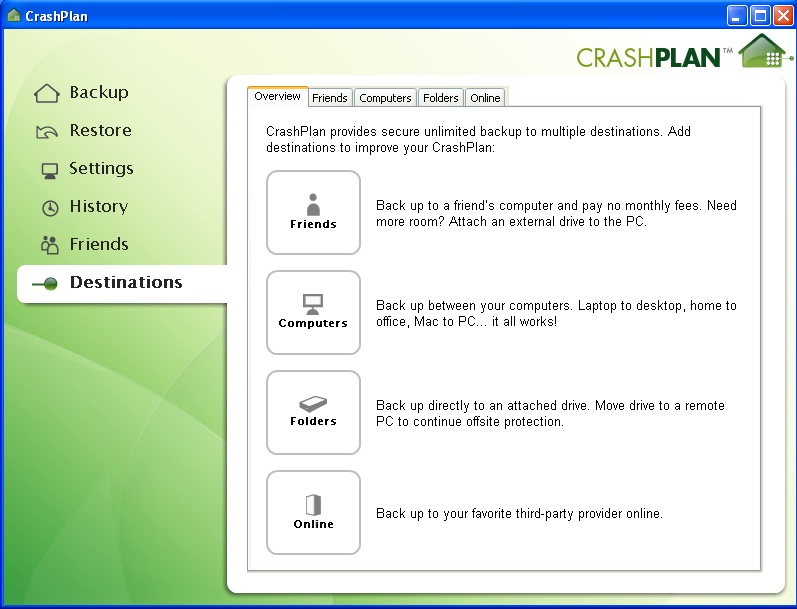
Click the “Destinations” tab and then the “Computers” icon in the main window. There you should see the names of all the other computers you’ve installed CrashPlan on. Pick one and then click “Start Backup”.
That’s about it. From that point on all of your data will be backed up to the extra computer you’ve got at home or the second laptop you travel with. There are many other options and restoring data is as easy as clicking the “Restore” tab. I’d recommend you setup CrashPlan as far in advance of any trip as you can to take advantage of a solid Internet connection. It will take about 3-5 days per 20GB you’ve got to backup. After the long initial backup, CrashPlan only updates modified and new files so it’s usually much quicker after that.
CrashPlan is very versatile but this is the quick and straightforward way to start your own free online backup service.